Assign a custom schedule
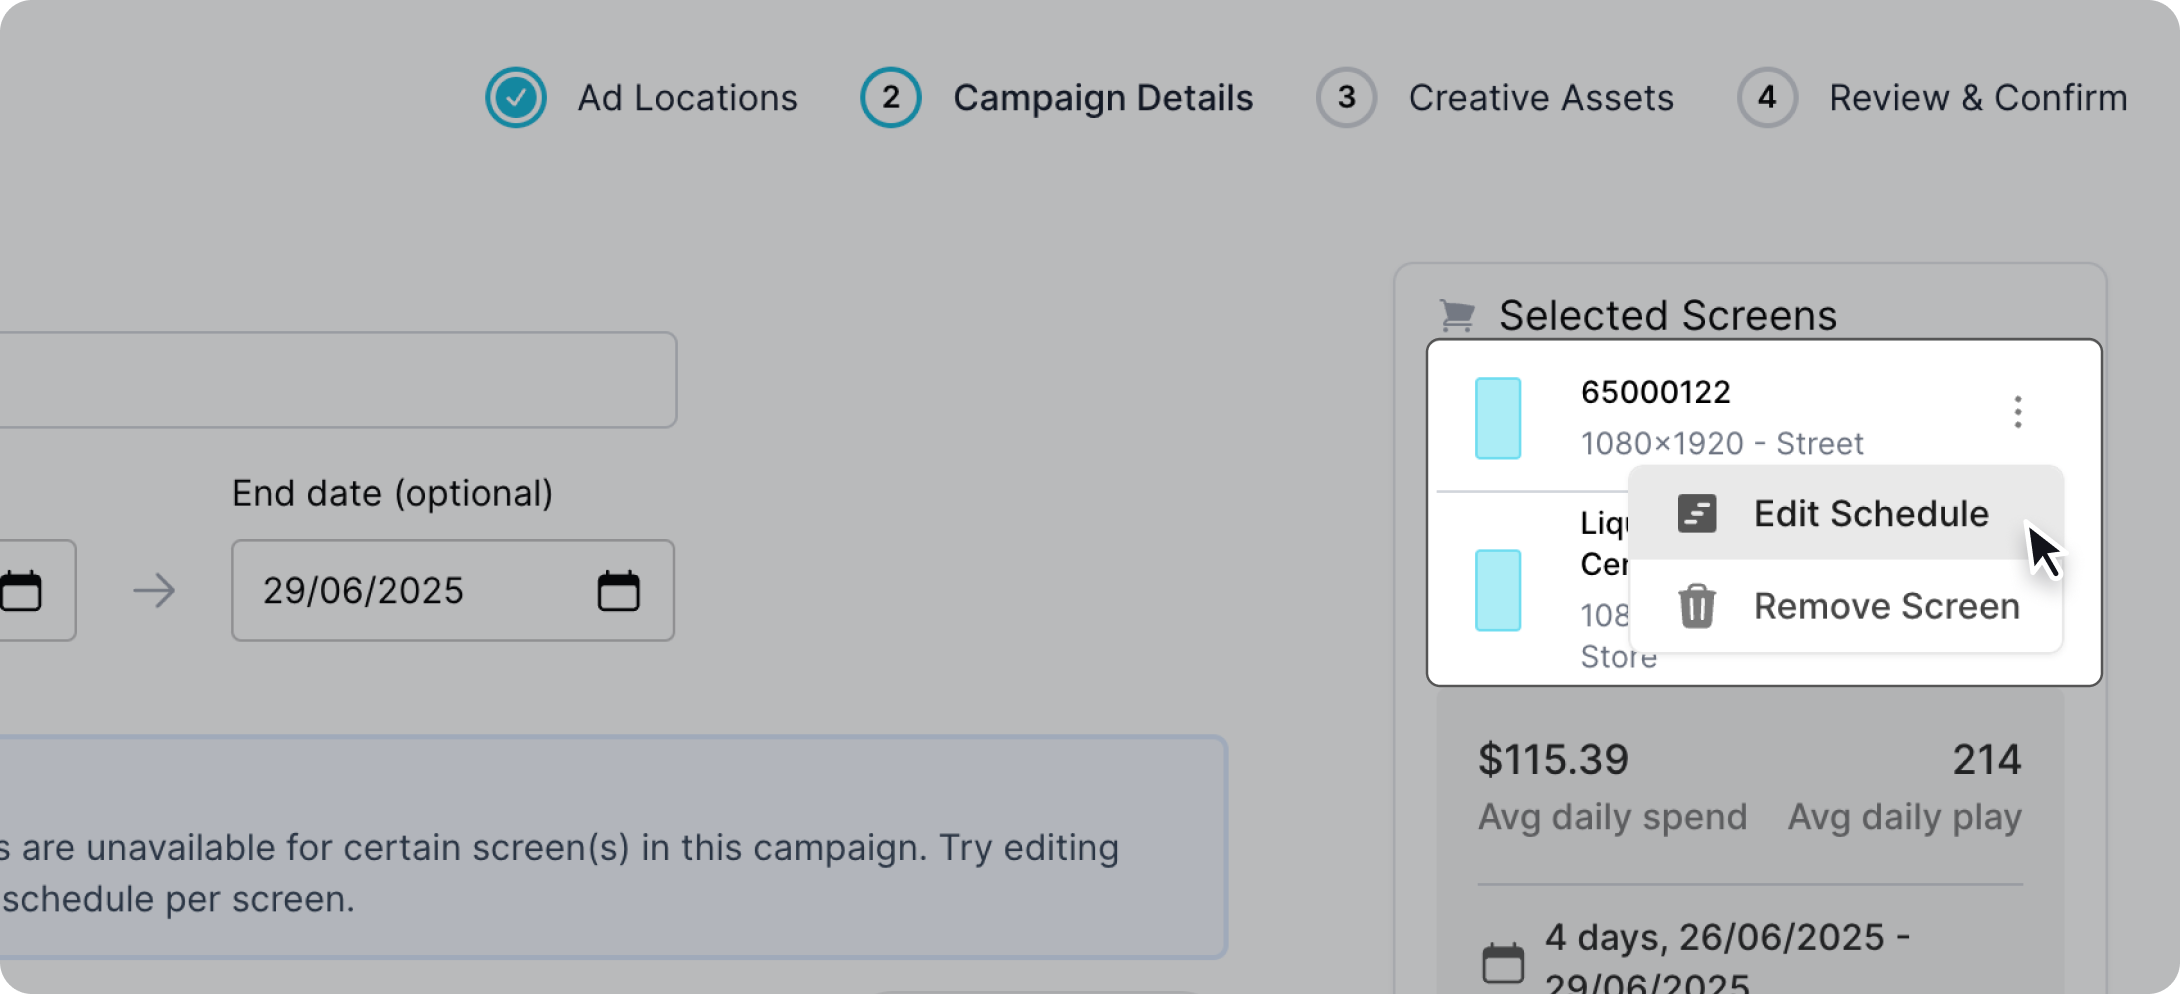
To assign a custom schedule to a screen, locate the three dotted icon during Step 2: Campaign Details in the new campaign process. Select "Edit Schedules".
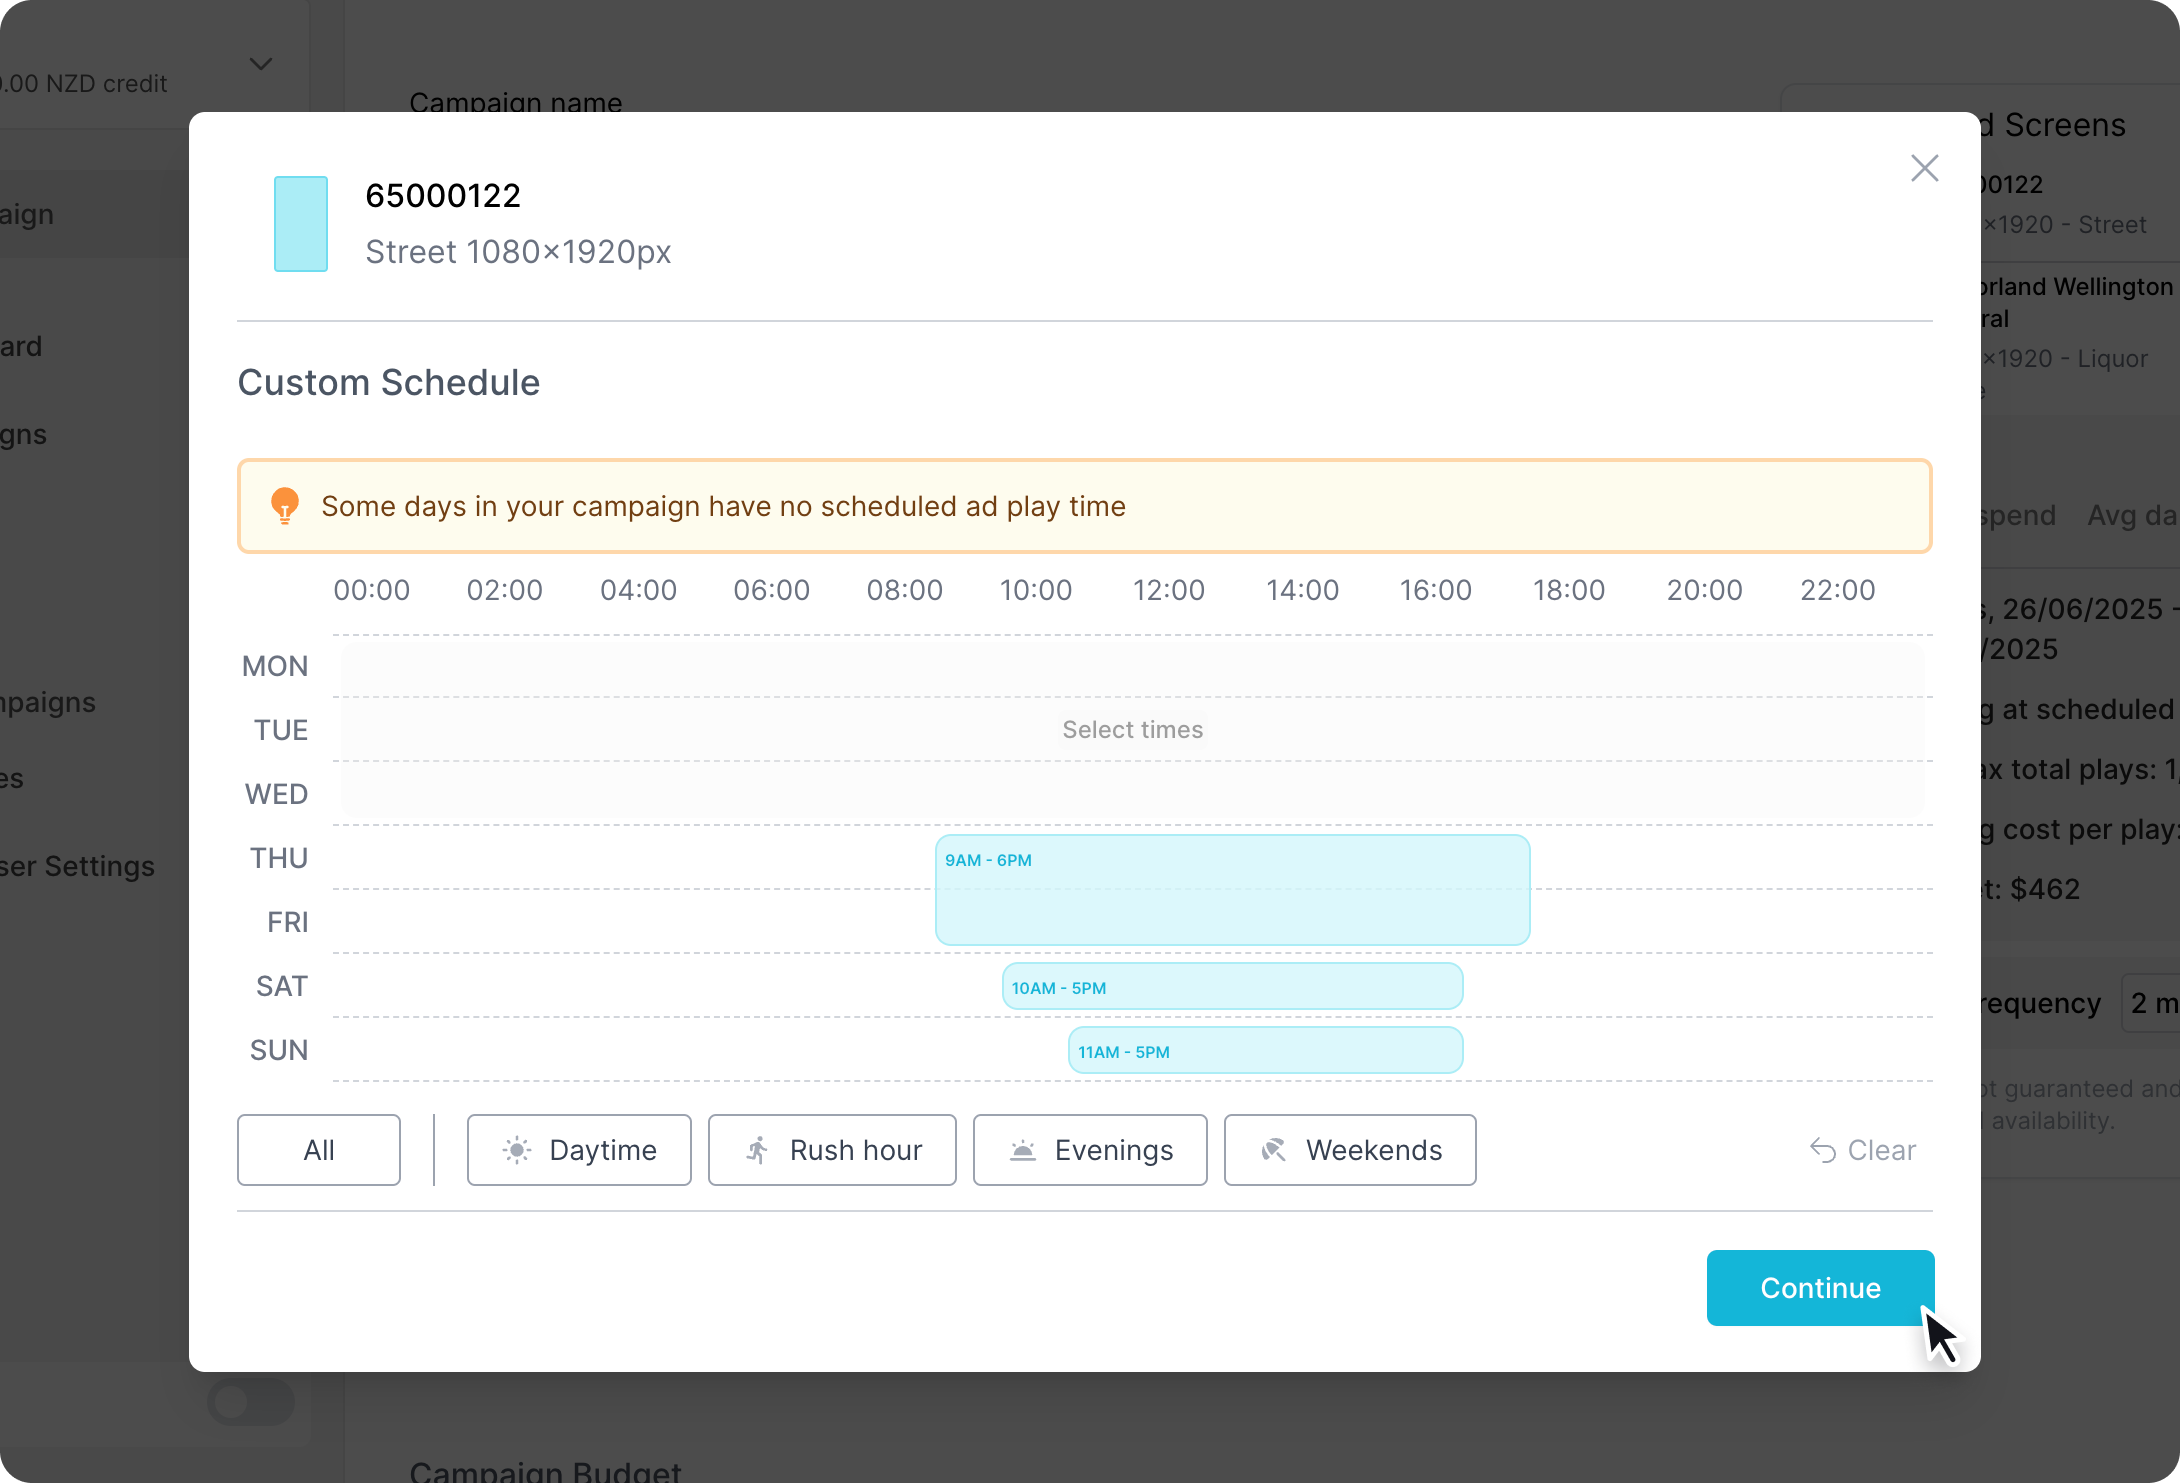
A popup will appear with the current allocated schedule. Simply select the desired hours for the screen and confirm by clicking "Continue". This will now enable to the screen to have a custom schedule, and any changes to the default schedule will not affect it.
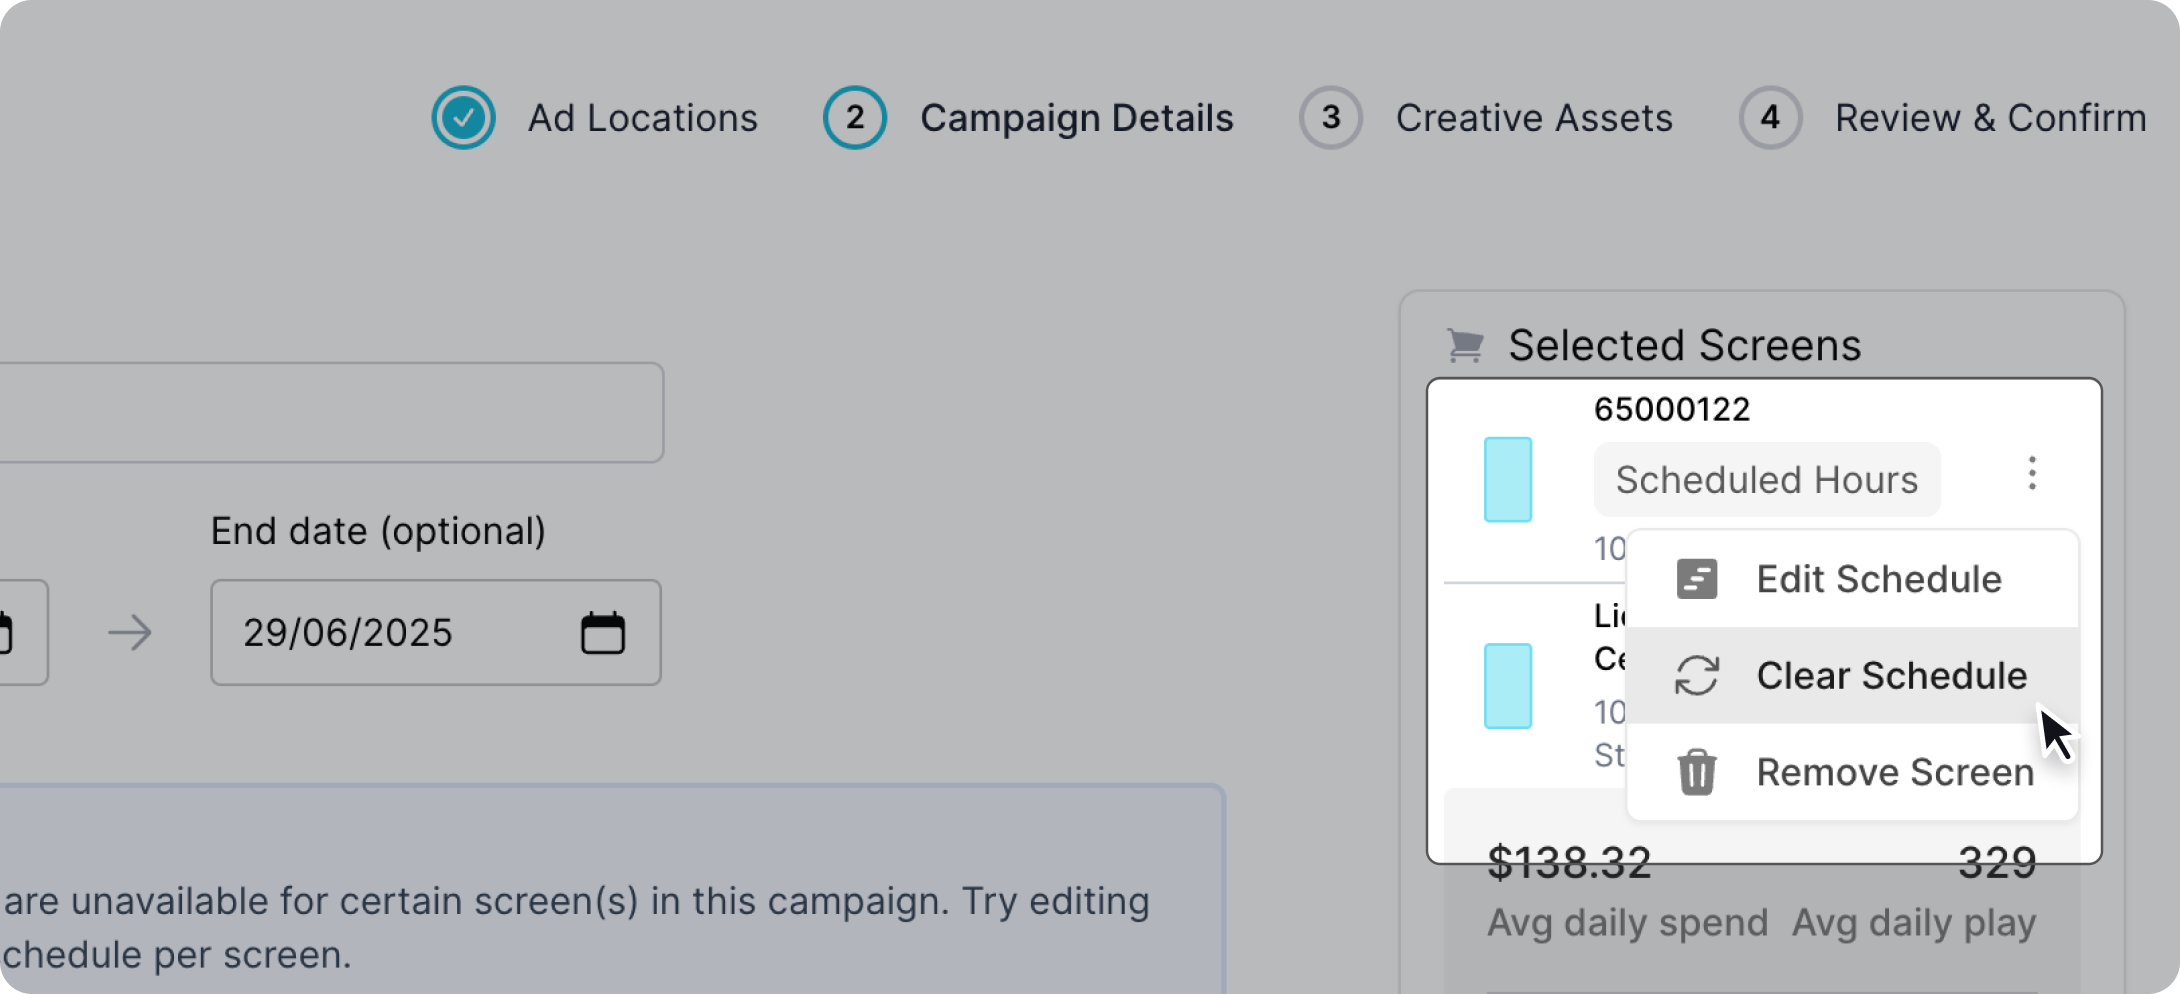
Remove a custom schedule
To remove a custom schedule locate the three dotted icon next to the screen and select "Clear Schedule". This will remove the custom schedule and set the screen to follow the default schedule.